Every day, each household generates a significant amount of kitchen waste, from vegetable peels and coffee grounds to eggshells. Instead of throwing them away and contributing to the environmental burden, you can completely utilize them and turn them into a source of nutritious organic fertilizer for your plants right at home.
What is organic fertilizer?
Organic fertilizer Organic fertilizers are derived entirely from natural materials such as plant remains (leaves, vegetables), animal waste (manure), and microorganisms. Unlike chemical fertilizers, which provide nutrients quickly, the main mechanism of action of organic fertilizers is to "nourish the soil."
Organic fertilizers help replenish humus, improve soil structure, loosen the soil, retain moisture better, and create a healthy ecosystem for beneficial microorganisms to thrive. Homemade compost from kitchen waste is one of the safest and most nutrient-rich forms of organic fertilizer.

Why should you compost at home?
Composting at home is not just a gardening technique; it's a sustainable lifestyle. The benefits of organic fertilizer for landscaping and gardens. Your role and the environment are incredibly important and practical.
- Minimize household waste: Over 50% of household waste is organic waste. Composting significantly reduces the amount of waste you release into the environment, contributing to environmental protection.
- Create a source of free and super-nutrient fertilizer: Homemade compost is an excellent source of nutrients, helping plants grow healthily.
- Effective soil improvement for agricultural purposes: Organic fertilizers help improve soil structure, making the soil more porous, increasing water retention, and improving drainage. These are just a few of the many benefits of using organic fertilizers in gardening and landscape care.
- Cost savings: You won't need to spend money on chemical fertilizers, saving you money and ensuring your health and safety.
What preparations are needed before starting to compost?
1. Choose the right composting bin.
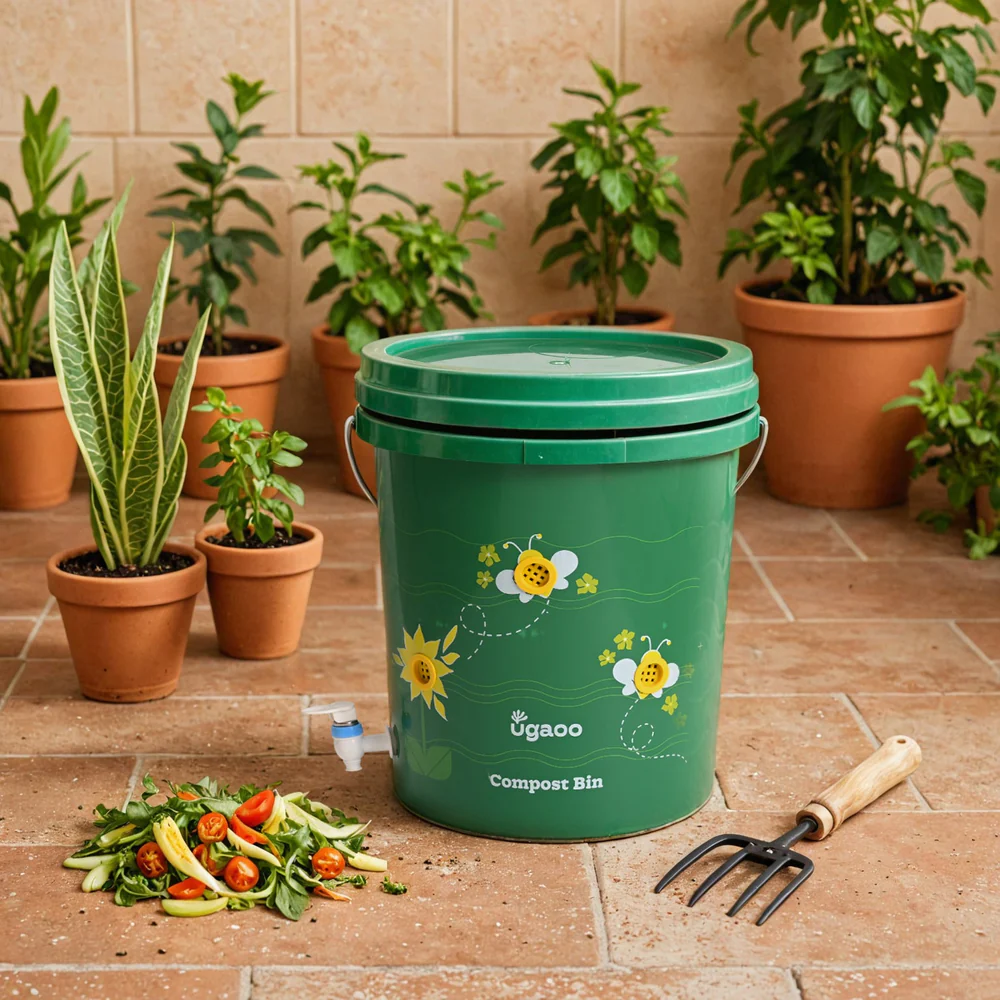
You don't need expensive equipment. A good compost bin only needs to ensure two things: it has a lid and it has drainage/ventilation holes.
- Homemade compost bin: You can repurpose old paint cans, styrofoam containers, or large plastic containers. Use a drill to make small holes around the sides and bottom of the containers to allow air circulation and excess water to drain out.
- Ready-made composting bins: There are many types of specialized compost bins on the market in various sizes, suitable for both apartment balconies and large gardens.
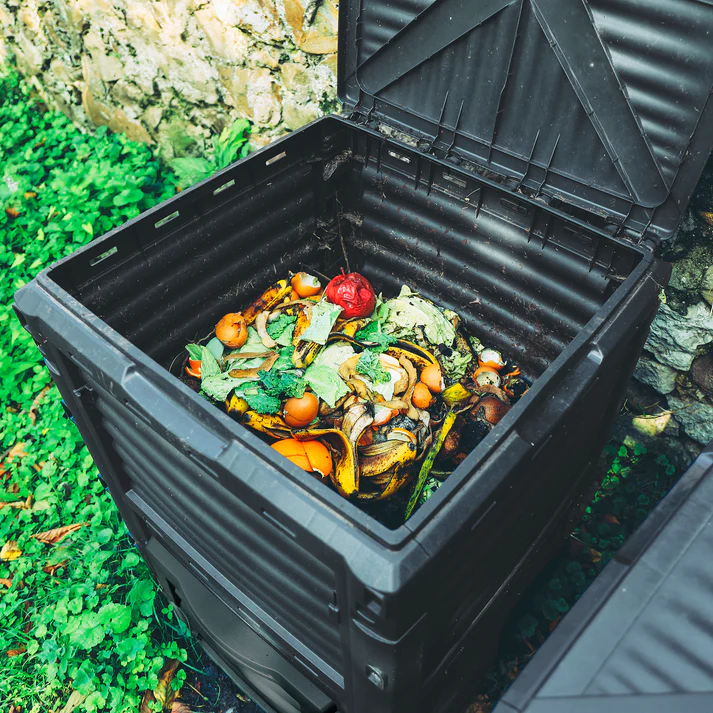
2. Classifying materials into “Green” and “Brown” categories when composting at home.
This is the golden rule that determines the success of a compost batch. A balanced compost pile needs a proper ratio between these two groups of ingredients, ideally: 1 part Green : 2 parts Brown.
Green Materials (Nitrogen-Rich)
These are fresh, moist waste materials. They provide protein and nitrogen for microorganisms.
Examples: Vegetable and fruit peels, coffee grounds, tea leaves, crushed eggshells, fresh grass, etc.
Brown (Carbon-Rich) Material
These are dry materials. They provide energy (carbon) and create porosity, allowing air to circulate.
Examples: Dry leaves, small branches, sawdust, shredded newspaper, plain cardboard without ink, toilet paper rolls, etc.

3. Things you "shouldn't" put in the compost bin.
To avoid odors and attracting pests, absolutely do not put the following in the compost bin:
- Meat, fish, bones, milk and dairy products
- Oils and fats
- Dog and cat feces
- Diseased plants or weeds that have already produced seeds.
5-Step Guide to Composting at Home
Step 1: Create a breathable bottom layer
Place a layer of brown material about 5-7cm thick (small branches, dry leaves) at the bottom of the container. This layer acts as a cushion, helping with drainage and allowing for ventilation from the bottom up.
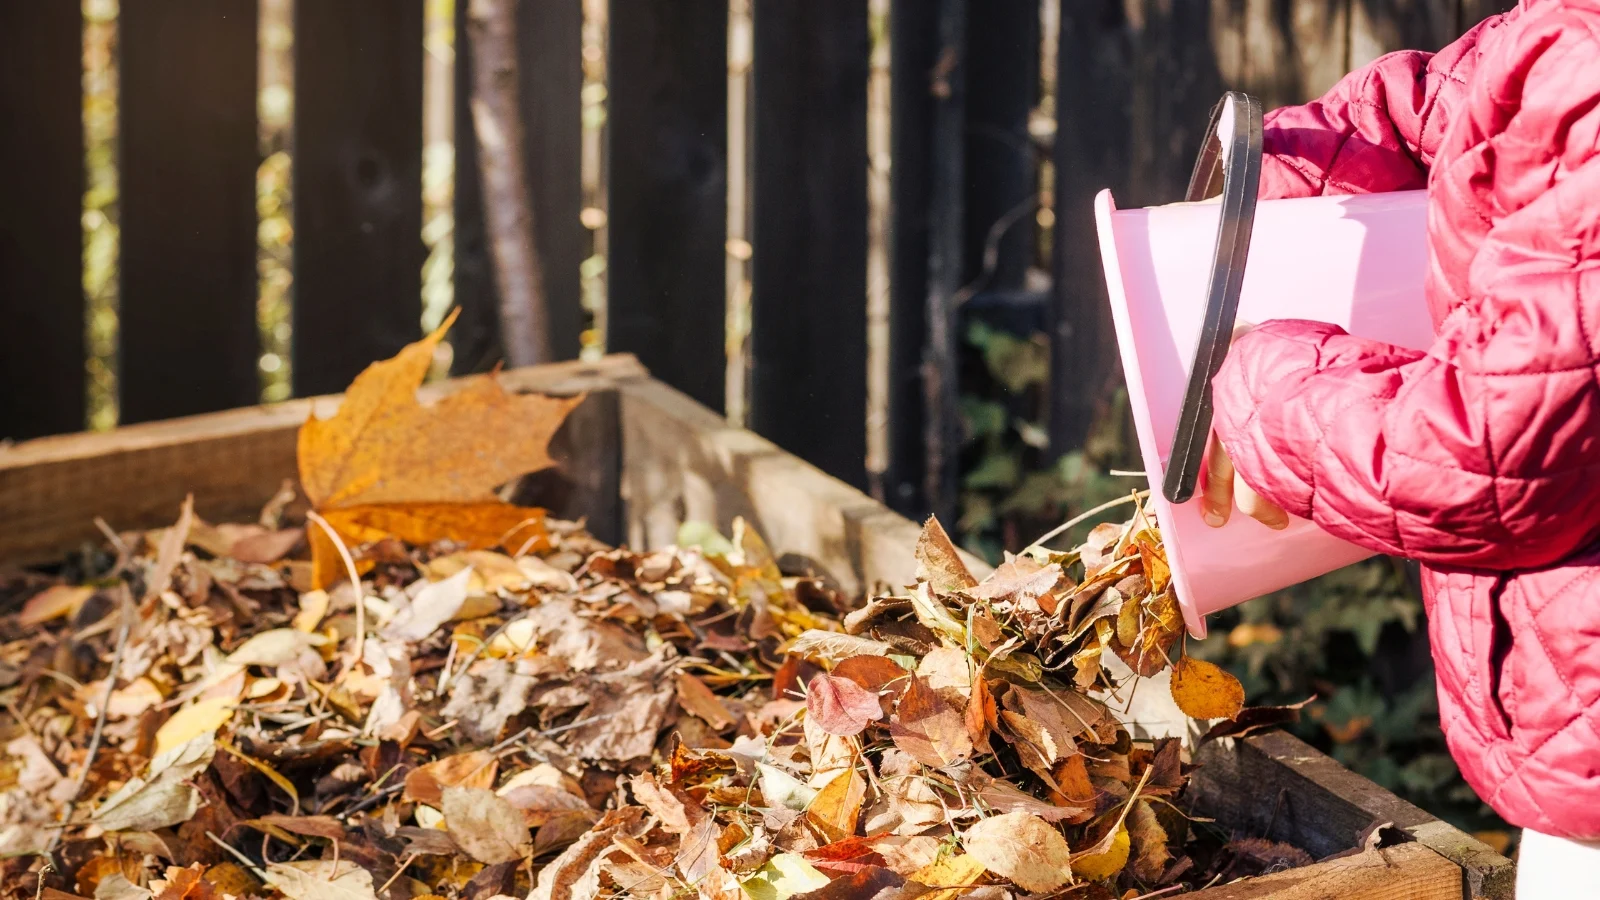

Step 2: Layer alternately
Begin layering the materials alternately. Place one layer of green material (approximately 5cm) on top of one layer of brown material (approximately 10-15cm). Repeat until the bin is full. Always ensure the top layer is brown to cover kitchen waste, prevent odors, and keep insects out.

Step 3: Maintain the necessary humidity.
The compost pile needs to have the same moisture level as a sponge that has been wrung out. If it's too dry, decomposition will slow down. If it's too wet, it will smell bad and lack oxygen. Check by taking a handful and gently squeezing it. If a few drops of water seep out, the moisture level is perfect.
Step 4: Stir periodically
This step provides oxygen for the microorganisms to function. Approximately once or twice a week, use a shovel or a long stick to thoroughly mix the compost pile from the bottom up and from the inside out. This helps the decomposition process to occur faster and more evenly.
Step 5: Harvest the finished product.
After about 2-4 months, depending on the materials and conditions, the home composting process will be complete. The finished compost will be dark brown, loose, and odorless. At this point, you can sift it to remove any large pieces that haven't completely decomposed and start using it in your garden.

Answering frequently asked questions
How to prevent your compost bin from smelling bad?
The cause is either too much green material or excessive moisture, leading to a lack of oxygen.
Solution: Immediately add browning material (dried leaves, cardboard) and mix thoroughly.
How to keep maggots and insects out of your compost bin?
The reason is that you left kitchen trash exposed.
Solution: Always ensure that kitchen waste (Green material) is completely covered by a layer of Brown material.
Is the decomposition process too slow?
This could be due to the compost pile being too dry, lacking green materials, or not being turned over properly.
Solution: Check the moisture level, add some fresh kitchen scraps, and stir more frequently.